
How to Upgrade Computer BIOS: A Comprehensive Step-by-Step Guide
Keeping your BIOS (Basic Input/Output System) up to date is crucial for optimal system performance, enhanced security, and compatibility with new hardware. Whether you’re using Windows 10 or Windows 11, understanding how to upgrade computer BIOS can help you avoid potential pitfalls and reap the benefits of a smooth and secure computing experience.
This guide will walk you through the entire process of updating your BIOS, including steps tailored to specific brands like MSI, ASUS, and American Megatrends, and operating systems like Windows 10 and Windows 11.
What Is BIOS and Why Should You Upgrade It?
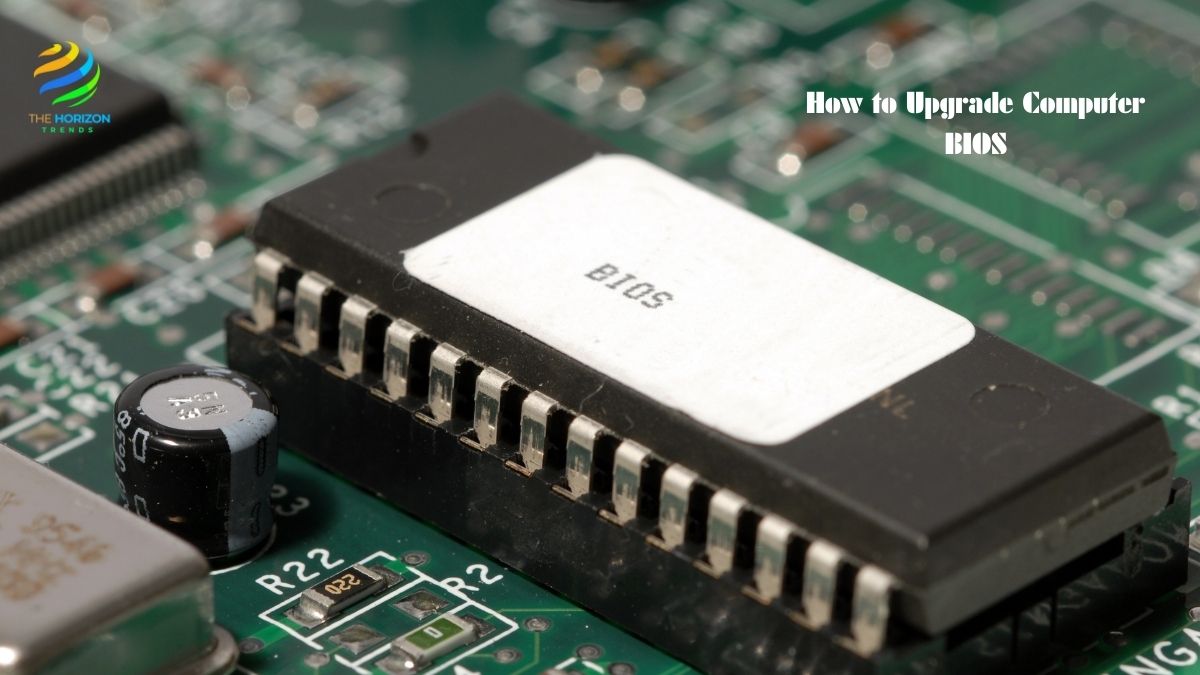
The BIOS is a firmware program stored on a small chip on your computer’s motherboard. It manages critical functions like booting the operating system, initializing hardware components, and facilitating communication between your system’s hardware and software.
Reasons to upgrade your BIOS:
- Hardware Compatibility: Ensures your motherboard works seamlessly with the latest CPUs, GPUs, and other components.
- Bug Fixes: Resolves issues affecting performance or stability.
- Improved Security: Protects against vulnerabilities through firmware patches.
- New Features: Adds or enhances features like overclocking support or virtualization.
However, upgrading the BIOS is not without risks. A failed update could render your computer unbootable, so proceed carefully by following this detailed guide.
When Should You Upgrade Your BIOS?
Unlike regular software updates, BIOS upgrades aren’t something you do frequently. Updating your BIOS is like performing a system tune-up—it’s only necessary under certain conditions.
Reasons to Upgrade Your BIOS
- Bug Fixes: If your computer experiences stability issues like random crashes or freezes.
- Hardware Compatibility: When adding new components like processors or RAM that require the latest firmware.
- Security Updates: To patch vulnerabilities that could put your system at risk.
- Windows 11 Compatibility: To enable features like TPM 2.0 and Secure Boot, often configured in the BIOS.
Pro Tip: If your system is working perfectly and you don’t need new hardware or features, it’s best to leave the BIOS alone.
How to Check Your Current BIOS Version
Before updating, it’s essential to know your current BIOS version. Here’s how:
Option 1: Use Command Prompt
- Press Windows + R to open the Run dialog box.
- Type
cmdand hit Enter. - In the Command Prompt window, type: arduino,
wmic bios get smbiosbiosversionThis will display your current BIOS version.
Option 2: Use System Information
- Press Windows + R, type
msinfo32, and click OK. - Look for the BIOS Version/Date field. It will display your version and manufacturer details.
Tip: Write down the version number for reference during the upgrade process.
Step-by-Step Guide to Upgrade Your BIOS
Let’s dive into the BIOS upgrade process. Follow these steps carefully to avoid any errors.
1. Identify Your Manufacturer and Model
Visit your computer or motherboard manufacturer’s support page. Search using your PC or motherboard’s model number (often found on the device itself). If you built your PC, you’ll need to check the motherboard brand (e.g., Asus, MSI, or Gigabyte).
Example: One user mistakenly downloaded a BIOS update for the wrong model. As a result, their computer couldn’t boot until they restored it with recovery tools. Double-check the model before downloading!
2. Download the Correct BIOS Update
Find the latest BIOS update file on the support page. Make sure to read the accompanying instructions, which usually outline how to install the update. Most files come compressed in a .ZIP format.
3. Prepare a USB Flash Drive
Many updates require a USB flash drive. Here’s how to set it up:
- Insert the USB drive into your computer.
- Open File Explorer, right-click the drive, and select Format.
- Choose FAT32 as the file system and click Start.
- Copy the BIOS update file onto the USB drive.
4. Enter the BIOS Menu
Access the BIOS menu to start the update process:
- Restart your computer.
- During startup, press the key to enter BIOS setup (usually F2, Delete, or Esc—check your screen or manual).
- Navigate to the section labeled Update or Tools.
5. Perform the Update
Each BIOS interface is slightly different, but the update process generally involves:
- Selecting Update BIOS or a similar option.
- Choosing the update file from your USB drive.
- Confirming the update.
Warning: Do not power off your computer during the update process. Doing so can corrupt the BIOS, potentially rendering your PC unusable.
Alternative Methods for BIOS Updates
If the USB method doesn’t suit you, here are two alternatives:
Windows-Based Update Tools
Some manufacturers, like HP and Dell, offer dedicated tools to update BIOS directly within Windows. Download the utility, follow the prompts, and let the software handle the update.
BIOS Flashback
High-end motherboards often support BIOS Flashback, a feature that allows updates without booting into Windows:
- Rename the BIOS file as per the instructions.
- Copy it to a USB drive.
- Plug the drive into the designated Flashback port.
- Press the Flashback button, and the motherboard will update automatically.
Common Mistakes to Avoid
- Using the Wrong File: Always verify the file matches your specific motherboard model.
- Interrupting the Process: Avoid unplugging or shutting down your computer during an update.
- Ignoring Recovery Options: Learn about recovery tools in case the update fails.
How to Upgrade Computer BIOS Windows 10: Step-by-Step Instructions
If you’re looking for ways to manage and enhance your system’s performance, understanding how to upgrade your computer’s BIOS can be as important as knowing how to schedule posts on Twitter or how social media impacts small businesses. Both require keeping your system up to date for optimal performance.
If you’re running Windows 10, here’s how to safely upgrade your BIOS:
Step 1: Check Your Current BIOS Version
Before starting, find your current BIOS version:
- Press Windows + R, type
msinfo32, and press Enter. - In the System Information window, locate the “BIOS Version/Date” field.
Step 2: Visit the Manufacturer’s Support Page
- Identify your computer or motherboard’s brand and model.
- For pre-built systems like Dell or HP, visit their official support page.
- For custom builds, head to the motherboard manufacturer’s website (e.g., MSI, ASUS).
- Search for the latest BIOS update compatible with your device.
Step 3: Backup Your System
To avoid data loss, back up all important files using an external drive or cloud storage.
Step 4: Download the BIOS Update
Download the update file from the manufacturer’s website and review the included instructions.
Step 5: Prepare a Bootable USB Drive
- Format a USB drive as FAT32 for compatibility.
- Copy the downloaded BIOS file to the USB drive.
Step 6: Update Your BIOS
- Restart your PC and enter the BIOS menu (usually by pressing Delete, F2, or Esc during startup).
- Navigate to the Update or Flash BIOS option, select your USB drive, and follow on-screen instructions to complete the update.
How to Upgrade Computer BIOS Windows 11: Key Considerations
Upgrading your BIOS in Windows 11 is similar to Windows 10 but may involve enabling specific security features like Secure Boot and TPM 2.0.
Step 1: Enable Required Security Features
- Enter the BIOS menu and enable TPM and Secure Boot under Boot Options.
- Save and exit the settings.
Step 2: Follow Standard BIOS Update Steps
- Visit the manufacturer’s support page.
- Download the appropriate BIOS file and prepare a bootable USB drive.
- Flash the BIOS following the same process outlined for Windows 10.
How to Update BIOS: General Steps for Any System
No matter your OS or motherboard brand, these general steps will guide you:
- Research and Download the Right File
- Always double-check the compatibility of the update file with your hardware.
- Backup All Data
- Prevent potential data loss by securing critical files.
- Prepare Your System
- Format a USB drive and copy the BIOS update file to it.
- Flash the BIOS
- Access the BIOS menu, choose the update file, and initiate the flashing process.
- Restart and Verify
- After the update, check your BIOS version to confirm the installation.
MSI BIOS Update: Tailored Instructions
If you own an MSI motherboard, follow these specific steps for an MSI BIOS update:
- Visit the MSI Support Page and locate your motherboard model.
- Download the latest BIOS file and extract it to a formatted USB drive.
- Enter the BIOS menu using the Delete key during startup.
- Select the M-FLASH Utility option and update the BIOS using the file on your USB drive.
ASUS BIOS Update: How to Upgrade Computer BIOS on ASUS Motherboards
For ASUS motherboards, the ASUS EZ Flash Utility simplifies the update process:
- Download the latest BIOS file for your motherboard.
- Copy the file to a FAT32-formatted USB drive.
- Access the BIOS menu using Delete or F2 during startup.
- Select the EZ Flash Utility, locate the BIOS file, and proceed with the update.
American Megatrends BIOS Update: Simplified Guide
Many computers use the American Megatrends (AMI) BIOS. To perform an American Megatrends BIOS update:
- Check your motherboard’s compatibility and download the update file.
- Follow the standard process to flash the BIOS via a USB drive or utility.
How to Update BIOS Windows 11 vs. Windows 10: Key Differences
Although the fundamental steps are similar, Windows 11 users may need to enable additional security features like TPM 2.0. For Windows 10, focus on compatibility with new hardware.
Pro Tips for Safe BIOS Updates
- Ensure Compatibility: Double-check the update file matches your hardware.
- Avoid Interruptions: Never turn off your PC during a BIOS update.
- Take Notes: Record any custom BIOS settings before updating.
Why Upgrading Your BIOS Is Worth It
Upgrading your BIOS improves security, compatibility, and overall system performance. It’s an essential step for ensuring your computer stays up to date with modern hardware and software requirements.
With this detailed guide on how to upgrade computer BIOS, you’re now ready to tackle the process with confidence. Remember to back up your data, follow the instructions carefully, and enjoy the benefits of a smoother and more reliable system.
Ready to upgrade your BIOS? Start today to unlock the full potential of your PC!
Frequently Asked Questions (FAQs):
How do I update my PC BIOS?
To update your PC BIOS, follow these steps:
Identify Your BIOS Version: Check your current BIOS version by typing msinfo32 into the Run dialog (Windows + R) and locating the “BIOS Version/Date” field in the System Information window.
Visit the Manufacturer’s Website: Go to your PC or motherboard manufacturer’s support page (e.g., Dell, ASUS, or MSI) and search for the latest BIOS update compatible with your hardware.
Download the BIOS Update: Download the update file, along with any provided instructions.
Prepare a Bootable USB Drive: Format a USB drive as FAT32, then copy the BIOS update file onto it.
Access the BIOS Menu: Restart your PC and press the appropriate key (e.g., F2, Delete, or Esc) during startup to enter the BIOS setup utility.
Flash the BIOS: Navigate to the BIOS update option, select your USB drive, and follow on-screen instructions to install the update.
Restart and Verify: After the process is complete, verify the update by checking the BIOS version again.
Can I update BIOS by myself?
Yes, you can update your BIOS by yourself if you follow the instructions carefully. However, it’s essential to proceed cautiously, as an interrupted or incorrect update can cause serious issues like rendering your PC unbootable.
Here are some tips to ensure success:
Research Thoroughly: Verify that the BIOS update file is specifically designed for your motherboard model.
Back Up Important Data: Always back up your files before starting the update.
Use a Reliable Power Source: Ensure your PC won’t lose power during the update process; a power interruption can corrupt the BIOS.
Follow Instructions Exactly: Most manufacturers provide a step-by-step guide tailored to their devices.
For beginners, many manufacturers also offer user-friendly utilities for updating BIOS directly from Windows, making the process simpler and less intimidating.
What is BIOS upgrade in PC?
A BIOS upgrade is the process of updating the firmware stored on your PC’s motherboard. This firmware, known as the Basic Input/Output System (BIOS) or Unified Extensible Firmware Interface (UEFI), controls essential system functions such as booting the operating system, detecting hardware, and managing peripherals.
Upgrading the BIOS involves installing the latest version of this firmware, typically to:
Improve Compatibility: Enable support for new hardware like CPUs, GPUs, or RAM.
Fix Bugs: Resolve issues that might cause instability or poor performance.
Enhance Security: Protect your system against vulnerabilities with patches provided by the manufacturer.
Add Features: Introduce new functionalities, such as better overclocking options or improved power management.
How to know if BIOS needs an update?
You don’t always need to update your BIOS unless there’s a specific reason to do so. However, you might consider it if:
You’re Installing New Hardware: If a new component (e.g., CPU or GPU) requires a newer BIOS version for compatibility, an update is necessary.
Your Manufacturer Recommends It: Check your PC or motherboard manufacturer’s website periodically for updates. They’ll typically list improvements or fixes in the release notes.
You Experience Bugs or Stability Issues: If your PC crashes frequently or behaves unpredictably, a BIOS update may resolve these problems.
You Want to Improve Security: Manufacturers occasionally release updates to patch security vulnerabilities.
You’re Upgrading to Windows 11: For Windows 11, features like TPM 2.0 and Secure Boot must be enabled, and a BIOS update might be required.
To determine whether an update is necessary:
Compare your current BIOS version (found via msinfo32) to the latest version available on the manufacturer’s website.
Read the release notes to see if the update addresses any issues or introduces features relevant to your use case.
If none of these situations apply, it’s usually best to leave your BIOS as is to avoid unnecessary risks.